.png?fit=max&auto=format&n=bgX9afXAsFEQjCsc&q=85&s=439bdeee25b383fe2205a0b87189c19f)
.png?fit=max&auto=format&n=S-Hkm3ivcon5Z7vT&q=85&s=04ac779a322def7e91255567df5a4536)
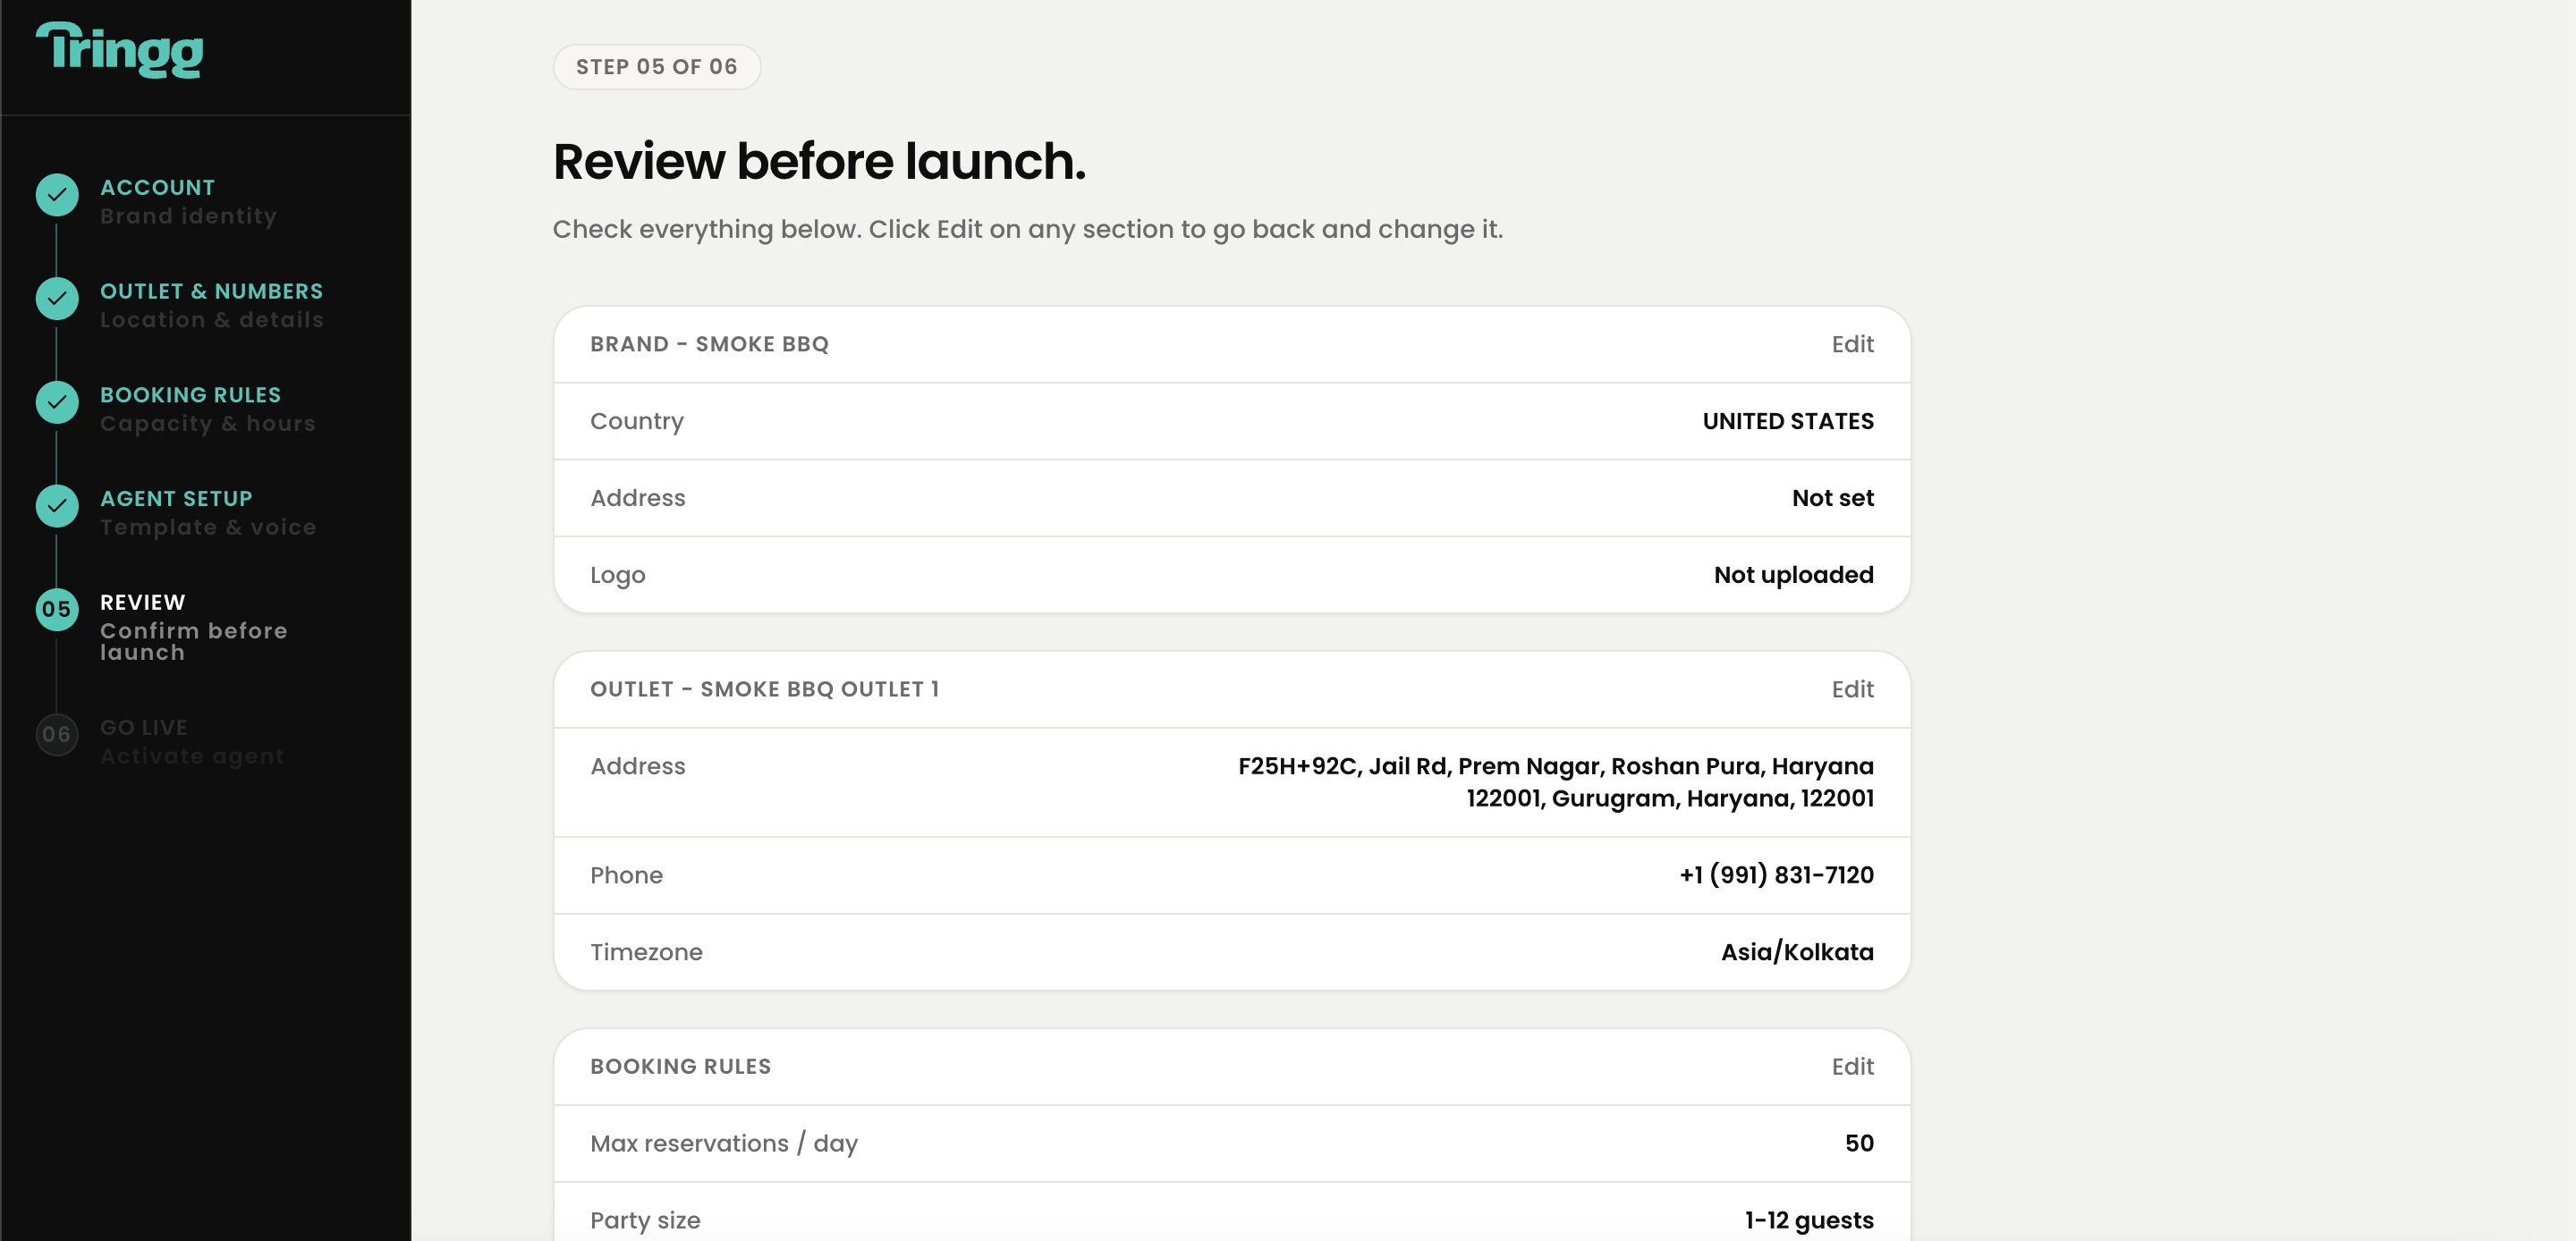
What’s on the review screen
- Brand & Account — name, email, status
- Outlet details — name, address, outlet phone, and your Tringg number
- Booking Rules — confirmation mode, max reservations, party size, duration, open days
- AI Agent — selected template, voice, and status
Going live
1
Complete all required fields
The Go Live button only enables once every mandatory field across all steps is filled in.
2
Click Go Live
This activates your agent and links it to your outlet. Going live is a deliberate, single-press action — nothing activates automatically before you confirm.
3
Get confirmed
You’re redirected to your dashboard, and a confirmation email is sent — useful if you close the browser before finishing.
You can always come back and use the Back button during onboarding without losing data you’ve already entered.